
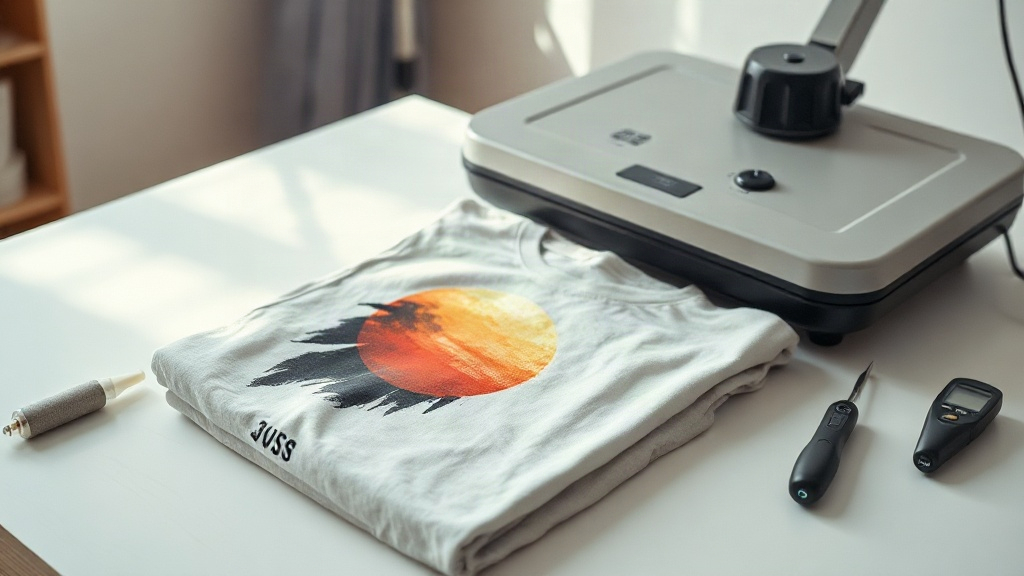
If you have spent any time in a craft room or a small print shop lately, you have probably heard someone rave about dtf transfers. Unlike vinyl that has to be weeded piece by piece or screen printing that demands a different screen for every color, a DTF transfer arrives as a ready-to-press sheet with your full-color design already printed on it. You place it, press it, peel it, and you are done. That simplicity is exactly why so many hobbyists and small business owners have added DTF to their workflow, and why it is worth understanding properly before you buy your first batch.
What Exactly Is a DTF Transfer?
DTF stands for direct to film. A printer lays your design onto a special PET film using water-based pigment inks, then a powdered hot-melt adhesive is scattered over the wet ink and cured. The result is a thin, flexible transfer that carries both the color layer and the glue layer in one sheet. When you apply heat and pressure, the adhesive melts into the fabric fibers, and after the film is peeled away, the print stays bonded to the garment.
The key difference from DTF's cousin, DTG (direct to garment), is that nothing is printed directly onto the shirt. The design lives on film until you press it. That single detail opens up a lot of possibilities, because it means you are not limited to a printer that sits over a platen, and you are not locked into cotton-only fabrics the way DTG often is.
Why the Adhesive Powder Matters
Beginners sometimes assume the ink is what sticks to the shirt. It is not. The ink provides color, but the melted powder provides the bond. If the powder layer is uneven, too light, or under-cured, the transfer can look perfect right after pressing and then start lifting at the corners after a few washes. Good suppliers control this step carefully, which is one reason cheap transfers from unknown sources can be a gamble.
What You Can and Cannot Print On
One of the biggest selling points of DTF is fabric versatility. Because the adhesive bonds mechanically to fibers rather than requiring a cotton surface to absorb ink, you can press onto a wide range of materials:
- 100% cotton, including ringspun and heavy tee fabrics
- Cotton and polyester blends, from 50/50 to 65/35
- 100% polyester, though lower pressing temperatures help prevent dye migration
- Canvas, denim, and many woven materials
- Nylon and some synthetic blends, usually with a test press first
There are limits worth knowing. Highly stretchy fabrics like spandex blends can crack a stiff transfer, so a stretch-friendly design and careful pressing help. Waterproof or heavily coated fabrics often reject the adhesive entirely. And very dark polyester garments can release dye when heated, which is why low-temperature DTF film and short press times exist.
Cotton vs. Polyester: A Quick Reality Check
On cotton, DTF behaves beautifully. The adhesive grips the fibers, the print feels soft, and wash durability is strong. On polyester, you get more of a plastic-on-plastic situation, which can feel slightly stiffer and demands lower heat. If your business is mostly poly performance wear, test a few pieces before committing to a large order.
The Equipment You Actually Need
You do not need a full production setup to start. For small runs, a decent heat press and a few accessories cover most of it.
Heat Press
A clamshell or swing-away press with accurate temperature control is the foundation. Swing-away models are easier to load evenly and are gentler on your wrists over long sessions. A cheap press with wild temperature swings will cause inconsistent results no matter how good your transfers are, so this is the one place not to cut corners.
Peel Tools and Protection
You will want a heat-resistant sheet or parchment paper to protect the top platen, a pair of tweezers or a peel tool for hot-peel transfers, and a lint roller. Lint under a transfer is one of the most common causes of a patchy, dull finish, and it takes two seconds to prevent.
If You Print Your Own Film
Printing in-house adds a DTF printer, pigment inks, PET film, adhesive powder, and a curing oven or powder shaker unit. It is a bigger investment and requires ventilation and consistent maintenance. Many people start by ordering transfers from a supplier and only move to in-house printing once order volume justifies it.
Step-by-Step Pressing Instructions
The exact numbers vary by film brand and fabric, so always follow the supplier's spec sheet. These general steps reflect how most DTF transfers are pressed in practice.
- Preheat the garment. Press for a few seconds to remove moisture and wrinkles. A damp shirt traps steam under the transfer and causes bubbling.
- Position the transfer. Place it adhesive-side down on the fabric. Double-check alignment before the press closes, because repositioning after a partial press rarely ends well.
- Press with firm pressure. Medium to heavy pressure is typical. Light pressure leaves the adhesive sitting on top of the fibers instead of penetrating them.
- Peel at the right temperature. Some films are hot peel, some are cold peel. Cold-peeling a hot-peel film can tear the print, and hot-peeling a cold-peel film can smear edges.
- Post-press for a few seconds. A short second press over the peeled print, using a cover sheet, smooths the surface and improves wash durability.
Write your settings on a sticky note and keep it beside the press. Consistency beats guesswork, especially when you are filling a repeat order weeks later.
Mistakes That Ruin DTF Prints
Most failed DTF jobs trace back to a handful of avoidable problems.
Temperature and Pressure Guessing
Too hot and the film curls or the adhesive scorches. Too cool and the powder never fully melts, so the print peels in the wash. Too little pressure and the transfer looks faded at the edges. Invest in a laser thermometer to verify your press plate actually reaches the number on the display.
Skipping the Pre-Press
Wrinkles and moisture are silent killers. A thirty-second pre-press solves both and costs you almost nothing.
Stretching the Garment While Peeling
Pulling the film away at an angle while the fabric moves can distort the print, especially on thin tees. Hold the shirt flat and peel steadily from one corner.
Washing Too Soon
Adhesive continues to settle as it cools. Waiting at least 24 hours before the first wash noticeably improves longevity. After that, washing inside out in cold water and tumble drying low keeps prints looking new far longer than hot water and high heat.
DTF vs. Other Decoration Methods
It helps to know where DTF fits. Compared with heat transfer vinyl, DTF handles gradients, photographs, and unlimited colors without weeding. Compared with screen printing, DTF wins on short runs and complex art but loses on cost per piece at high volume. Compared with DTG, DTF works on more fabrics and often produces more opaque results on dark garments. There is no single best method, only the best fit for your order size, fabric, and design.
Frequently Asked Questions
How long do DTF transfers last on a shirt?
With correct pressing and normal care, a well-made DTF print commonly lasts through dozens of wash cycles. Cold washing inside out and avoiding high dryer heat are the two habits that extend life the most.
Can I use DTF transfers on dark polyester without the colors bleeding?
You can, but heat management is critical. Lower temperatures and shorter dwell times reduce dye migration, and some printers offer low-temperature films specifically designed for problematic polyester.
Do I need a commercial heat press, or will an iron work?
An iron can produce a temporary bond, but it cannot deliver even pressure or a stable temperature. For anything you intend to sell or wash repeatedly, a proper heat press is the practical choice.
Should I peel my DTF transfer hot or cold?
It depends entirely on the film. Check the supplier's instructions, because peeling at the wrong temperature is one of the fastest ways to ruin an otherwise perfect press.
Can I layer DTF transfers for a multi-part design?
Yes. Press the first layer, peel it, then position and press the next. Keep the second press short so you do not overheat the layer underneath.
Once you dial in your temperature, pressure, and peel timing, dtf transfers become one of the most forgiving and flexible decoration tools available. Start with a few test pieces on scrap fabric, record what works, and you will have a repeatable process you can trust for every order that follows.