
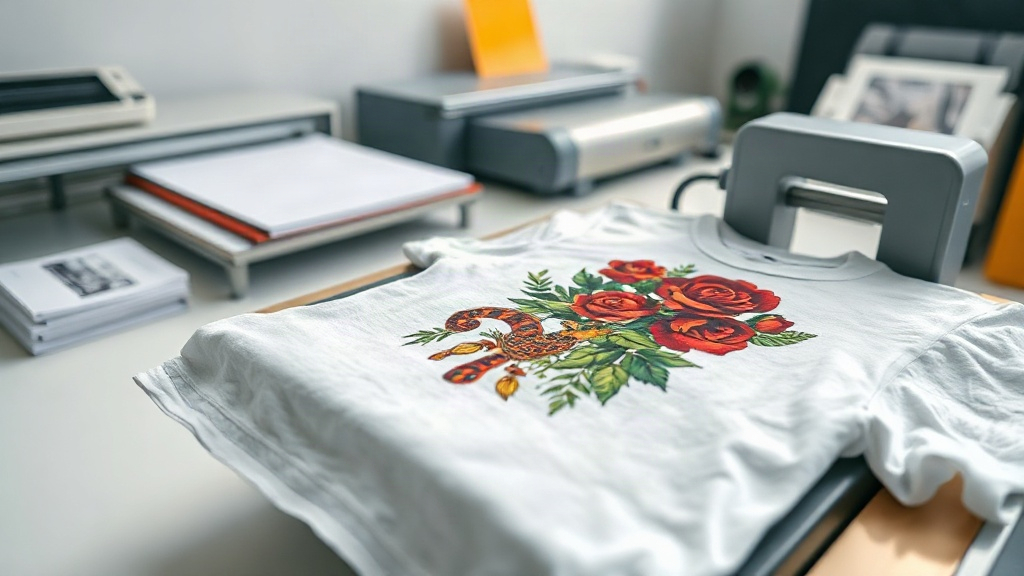
If you've been exploring custom apparel printing, you've likely heard about DTF transfers. This innovative technology is quickly becoming a favorite among hobbyists and professionals alike for its versatility and stunning results. Unlike traditional methods that limit you to certain fabrics or require extensive setup, DTF transfers open up a world of possibilities. In this guide, we'll walk you through everything you need to know to get started, from understanding the basics to achieving professional-quality prints right in your home studio.
What Are DTF Transfers?
DTF stands for Direct to Film. It's a printing method where your design is printed onto a special film, coated with a heat-activated adhesive powder, and then transferred onto fabric using a heat press. The magic lies in the adhesive: when heated, it bonds the ink to the fabric, creating a durable, stretchable print that feels soft to the touch. Because the design is printed on film first, you can apply it to almost any fabric, including cotton, polyester, blends, and even leather. This flexibility makes DTF transfers a game-changer for small businesses and crafters who want to offer a wide range of products without investing in multiple printing systems.
Why Choose DTF Transfers Over Other Methods?
You might be wondering how DTF compares to more established techniques like screen printing or vinyl cutting. Here's why many are making the switch:
- No color limitations: DTF printers use CMYK plus white ink, so you can print full-color, photographic designs with gradients and fine details.
- Fabric versatility: Works on cotton, polyester, nylon, leather, and more. No need for special pretreatments like with DTG on dark garments.
- Durability: The prints resist cracking, peeling, and fading even after multiple washes.
- Low setup cost: Unlike screen printing, there are no screens to burn or minimum order quantities. You can print one-off designs profitably.
- Soft feel: The transfer is thin and flexible, so it doesn't feel like a plastic patch on the shirt.
Of course, there are considerations like the need for a heat press and a DTF printer, but the investment pays off quickly if you're serious about custom apparel.
The DTF Transfer Process Step by Step
Getting started with DTF transfers is straightforward once you understand the workflow. Here's a breakdown of each stage.
1. Design Preparation
Start with a high-resolution image. Vector files are ideal, but 300 DPI raster images work well too. Remember that DTF prints are opaque, so you don't need to mirror your design unless your printer software requires it. Most DTF printers automatically mirror the image during printing. Also, ensure your design has a transparent background if you want only the graphic to transfer.
2. Printing the Transfer
Load your DTF printer with DTF ink and DTF film. The printer lays down a layer of white ink first (if printing on dark fabrics) followed by CMYK colors. After printing, the film passes through a powder shaker that applies hot-melt adhesive powder evenly. Excess powder is removed, and the film goes through a curing oven to melt the powder into a smooth layer. If you're using a manual setup, you can apply powder by hand and cure with a heat gun, but a dedicated shaker improves consistency.
3. Transferring to Fabric
Preheat your heat press to the temperature recommended by your film manufacturer, typically around 300°F to 325°F (150°C to 160°C). Place the garment on the press, position the transfer film with the design facing up, and press for 10-15 seconds with medium pressure. Then, wait for the film to cool completely before peeling it off. This cold-peel method ensures the adhesive bonds fully. For best results, use a heat press rather than an iron, as consistent pressure and temperature are crucial.
4. Post-Pressing (Optional)
Some professionals recommend a second press for a few seconds with a Teflon sheet or parchment paper over the design. This step further embeds the ink into the fabric and enhances wash durability. It's especially useful for stretchy fabrics.
Choosing the Right Materials
The quality of your DTF transfers heavily depends on the supplies you use. Here's what to look for:
- DTF Film: Choose a film that matches your printer and desired finish. Matte film is common, but glossy options exist. Ensure it's compatible with your ink.
- DTF Ink: Use high-quality DTF ink designed for your printer model. Off-brand inks can clog printheads and produce dull colors.
- Adhesive Powder: TPU-based powder is standard. It's flexible and bonds well. Avoid cheap powders that may yellow over time.
- Heat Press: A clamshell or swing-away press with accurate temperature control is essential. You'll need consistent pressure, so a press with a pressure gauge helps.
Investing in good materials saves you from frustration and ensures professional-looking results.
Common Mistakes and How to Avoid Them
Even with the best equipment, beginners often run into issues. Here are some pitfalls and their solutions:
- Insufficient pressure: If the transfer peels off after washing, increase the pressure on your heat press. You want the fabric to be slightly compressed.
- Wrong temperature: Too hot and the film may warp or the ink may burn; too cold and the adhesive won't activate. Always test with a temperature gun or follow the film's guidelines.
- Peeling too soon: Patience is key. Let the transfer cool completely (at least a minute) before peeling. If you peel while hot, the design may stretch or leave residue.
- Poor powder application: Uneven powder leads to patchy adhesion. Use a shaker or apply powder in a well-ventilated area and shake off excess thoroughly.
- Not pre-pressing the garment: Always pre-press the shirt for a few seconds to remove moisture and wrinkles. This step ensures a smooth surface for the transfer.
Applications and Creative Ideas
Once you master DTF transfers, the creative possibilities are endless. You can print custom t-shirts, hoodies, tote bags, hats, and even denim jackets. Because the transfers are so versatile, you can cater to niche markets: sports teams, family reunions, small businesses, and more. The ability to print full-color designs with fine details means you can reproduce logos, illustrations, and even photographs with impressive accuracy. Plus, since there's no minimum order, you can offer personalized items without overstocking.
Frequently Asked Questions
How long do DTF transfers last?
With proper application and care, DTF transfers can last as long as the garment itself. Wash inside out in cold water and avoid harsh detergents or bleach. Tumble dry low or hang dry. Following these guidelines, prints typically withstand 50+ washes without significant fading or cracking.
Can I use DTF transfers on dark fabrics?
Absolutely. DTF transfers are especially great for dark fabrics because the white ink layer provides a bright base for the colors. You don't need any special pretreatment like with DTG printing. Just ensure your printer is set to print white ink under the colors.
Do I need a special printer for DTF transfers?
Yes, you need a DTF printer that uses DTF ink and can handle DTF film. However, you can also buy pre-printed DTF transfers from suppliers if you don't want to invest in a printer yet. Many companies offer custom transfer printing services where you send them your design and they ship you the ready-to-press transfers.
What fabrics work best with DTF transfers?
DTF transfers adhere well to cotton, polyester, cotton-poly blends, nylon, leather, and even some synthetic materials. The key is that the fabric can withstand the heat of the press. Always test on a scrap piece first, especially with delicate fabrics.
How do I store unused DTF transfers?
Keep them in a cool, dry place away from direct sunlight and moisture. Store them flat or rolled, not folded, to prevent creases. Properly stored transfers can last for several months. Avoid stacking heavy objects on them.