
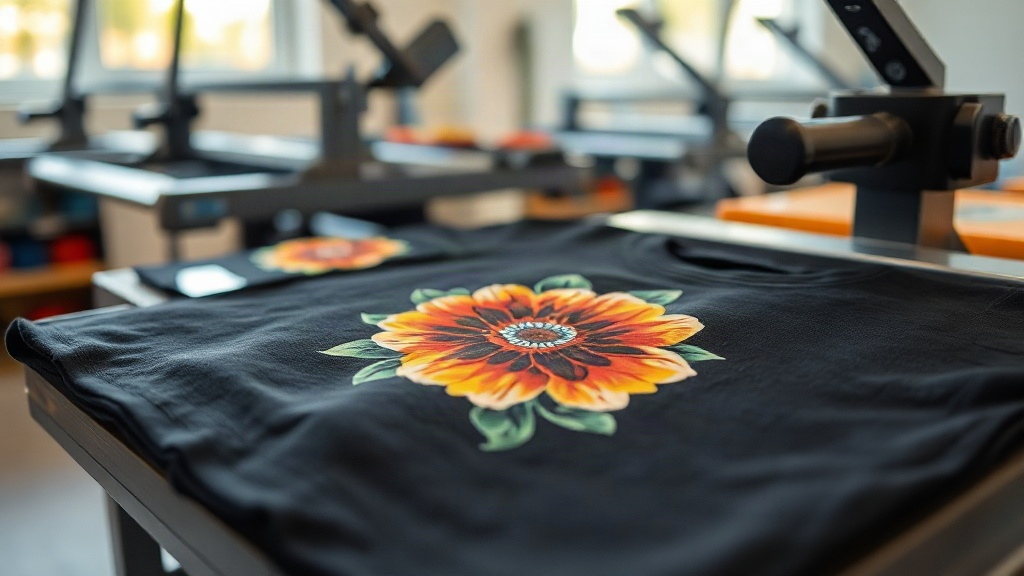
If you've been anywhere near the custom apparel scene lately, you've probably heard about DTF transfers. They're everywhere, from small Etsy shops to large-scale print operations. But what exactly are they, and why are so many people switching from vinyl and screen printing? In this guide, I'll walk you through everything you need to know about DTF transfers, from how they work to how you can use them to create stunning, durable prints on almost any fabric.
What Are DTF Transfers?
DTF stands for Direct to Film. It's a printing method where your design is printed onto a special film, coated with a powder adhesive, and then heat-pressed onto your garment. Unlike DTG (Direct to Garment) which prints directly onto the fabric, DTF uses a transfer film as an intermediate step. This might sound like an extra hassle, but it actually opens up a world of possibilities.
The process involves a few key steps:
- Design Preparation: Your artwork is prepared digitally, usually with a transparent background.
- Printing: A specialized DTF printer lays down CMYK inks plus white ink onto a PET film. The white ink acts as a base, allowing the design to show up on dark fabrics.
- Powdering: While the ink is still wet, a hot-melt adhesive powder is applied evenly over the print.
- Curing: The film goes through a heat source (like a heat press or oven) to melt the powder, creating a dry, flexible adhesive layer.
- Transfer: The film is placed on the garment and heat-pressed. The adhesive bonds with the fabric, and the film is peeled away, leaving your design behind.
What makes DTF transfers so appealing is their versatility. They work on cotton, polyester, blends, and even tough fabrics like canvas and denim. The prints are stretchy, so they won't crack when the fabric moves. Plus, the colors are incredibly vibrant, and the details are sharp.
Why Choose DTF Transfers Over Other Methods?
If you're a small business owner or a hobbyist, you might be wondering why you should bother with DTF when vinyl and screen printing have been around forever. Here's the thing: DTF solves several pain points that those methods have.
No Weeding or Cutting Required
With heat transfer vinyl (HTV), you have to cut your design and then weed out the excess material. It's time-consuming and tedious, especially for intricate designs. DTF eliminates that entirely. You print, powder, cure, and press. That's it.
Works on Almost Any Fabric
HTV has limitations. You need different types of vinyl for cotton, polyester, and blends. DTF? One transfer works on all of them. This simplifies your inventory and makes it easier to take on any order.
Unmatched Durability
When applied correctly, DTF prints can outlast the garment itself. They resist cracking, peeling, and fading. I've seen shirts that have been washed dozens of times with DTF prints that still look brand new. That's because the adhesive bonds deeply with the fibers, and the ink is flexible.
Cost-Effective for Small Runs
Screen printing requires setup costs for each color, making small runs expensive. DTF has no setup fees. You can print one shirt or one hundred, and the cost per unit stays relatively stable. This is a game-changer for print-on-demand and small businesses.
How to Apply DTF Transfers: A Step-by-Step Guide
Applying DTF transfers is straightforward, but you need to follow the right steps to get a professional result. Here's how I do it:
- Preheat Your Heat Press: Set your press to 325°F (160°C) for cotton, or 300°F (150°C) for polyester. Prepress the garment for 5-10 seconds to remove moisture and wrinkles.
- Position the Transfer: Place the DTF transfer on the garment with the printed side down (the design should be touching the fabric).
- Press: Apply medium to firm pressure for 15-20 seconds. If you're using a home iron, press firmly for 30 seconds, but a heat press is highly recommended for consistent results.
- Peel: Wait for the transfer to cool completely (cold peel). Then, slowly peel away the film. If any part of the design lifts, press again for a few seconds.
- Post-Press (Optional): For extra durability, cover the design with a Teflon sheet or parchment paper and press for another 5-10 seconds.
One common mistake is not using enough pressure. The adhesive needs to penetrate the fabric fibers. If you're finding that your prints peel after washing, increase your pressure and make sure your press is at the right temperature.
Common Challenges and How to Overcome Them
Even though DTF is user-friendly, you might run into a few hiccups. Here are some issues I've encountered and how to fix them:
- Peeling After Wash: Usually caused by insufficient pressure or temperature. Invest in an infrared thermometer to check your press's actual temperature. Also, ensure you're using the correct peel method (cold peel for most films).
- Faded or Dull Colors: This can happen if the powder isn't cured properly. Make sure you're using the right amount of powder and curing at the recommended temperature. Overcuring can also dull colors, so follow the manufacturer's guidelines.
- Sticky Residue: If you feel a sticky residue on the transfer after curing, it means the powder hasn't fully melted. Increase curing time or temperature.
- Film Not Peeling Smoothly: If the film sticks to the design, it's likely because the transfer didn't cool enough. Patience is key. Wait until it's completely cool.
DTF Transfers vs. Other Printing Methods
Let's compare DTF to the other big players: screen printing, DTG, and HTV.
- Screen Printing: Best for large orders with few colors. DTF wins for small orders, full-color designs, and detailed artwork.
- DTG: Great for 100% cotton, but DTF works on more fabrics and often has brighter colors on dark shirts.
- HTV: Good for simple one-color designs. DTF is faster for complex designs and more durable.
Ultimately, DTF is a versatile tool that can complement your existing methods. Many shops use DTF for samples and small runs, and screen printing for bulk orders.
Tips for Getting the Best Results with DTF Transfers
After using DTF for a while, I've picked up a few tricks that make a big difference:
- Store Transfers Properly: Keep them in a cool, dry place away from direct sunlight. Humidity can affect the powder.
- Use a Quality Printer: Not all DTF printers are created equal. Invest in a reputable brand to ensure consistent ink output.
- Test on Scrap Fabric: Before pressing onto a customer's shirt, do a test press on a similar fabric to dial in your settings.
- Keep Your Press Clean: Residue from previous transfers can transfer onto your new design. Wipe down your platen regularly.
Frequently Asked Questions About DTF Transfers
How long do DTF transfers last?
With proper application and care, DTF transfers can last as long as the garment. They withstand dozens of washes without fading or cracking. Always wash inside out in cold water and avoid harsh detergents.
Can I use DTF transfers on dark colors?
Absolutely. DTF transfers include a white ink base that makes colors pop on dark fabrics. This is one of their biggest advantages over DTG, which often requires a white underbase that can feel thick.
Do I need a special printer for DTF?
Yes, DTF requires a printer that uses DTF inks and can handle the film. However, you can also buy pre-printed transfers from suppliers and just apply them with a heat press.
What is the best temperature for pressing DTF transfers?
The ideal temperature is typically 300-325°F (150-160°C), but it can vary by film manufacturer. Always check the instructions that come with your transfers.
Can I stretch DTF prints?
Yes, DTF prints are flexible and will stretch with the fabric without cracking. This makes them ideal for athletic wear and stretchy materials.
DTF transfers have revolutionized the custom apparel industry by offering a versatile, durable, and cost-effective solution for printing on a wide range of fabrics. Whether you're a seasoned pro or just starting out, incorporating DTF into your workflow can open up new opportunities. Give it a try, and you might just find it becomes your go-to method.